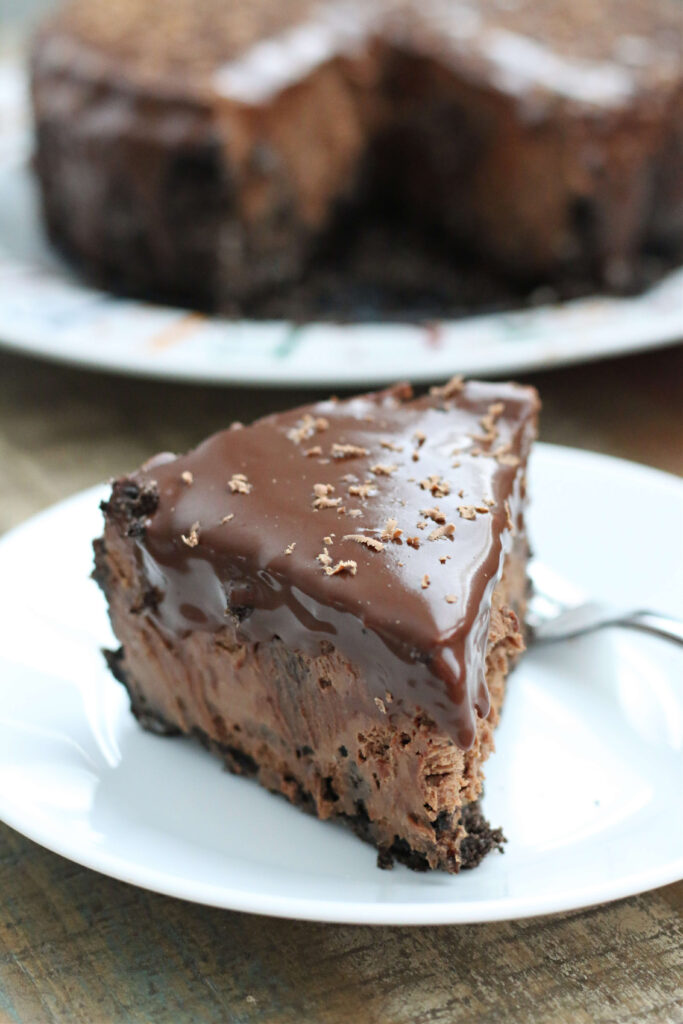
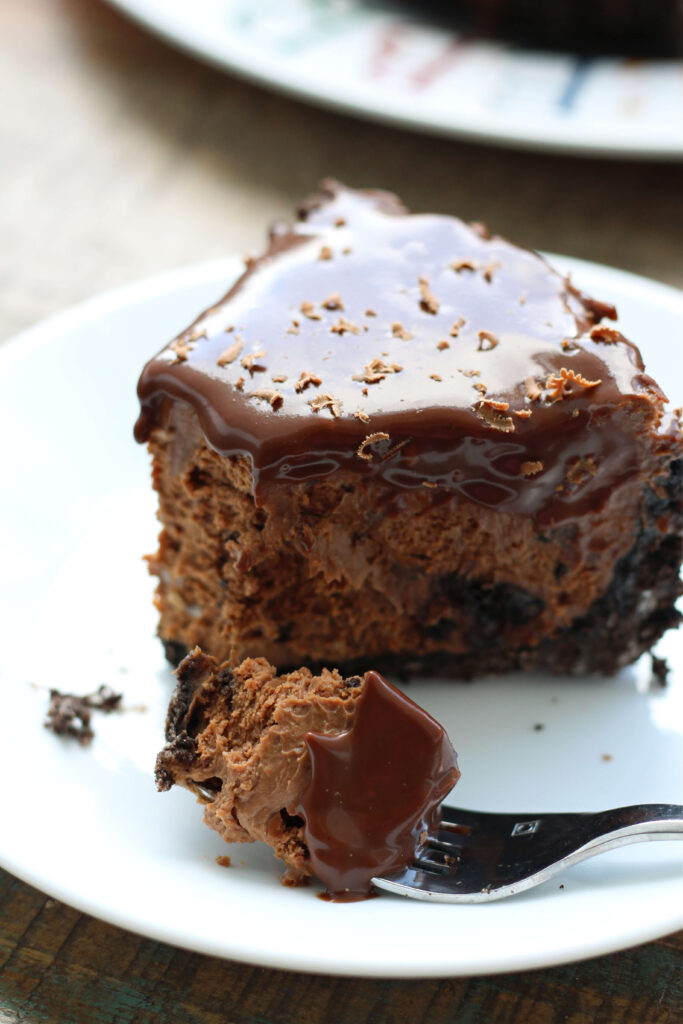
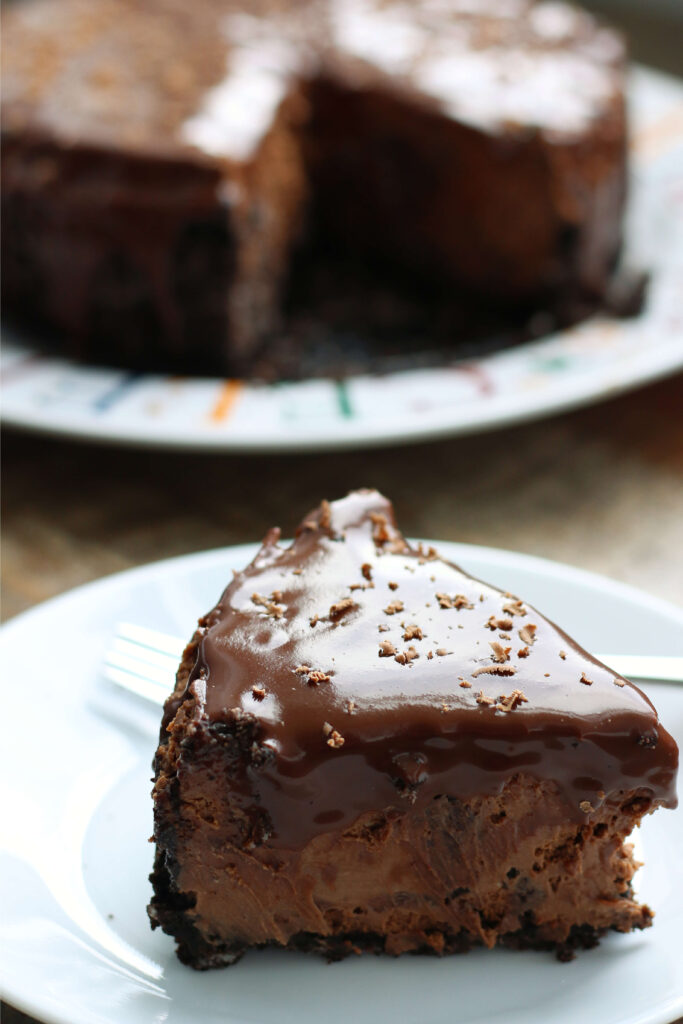
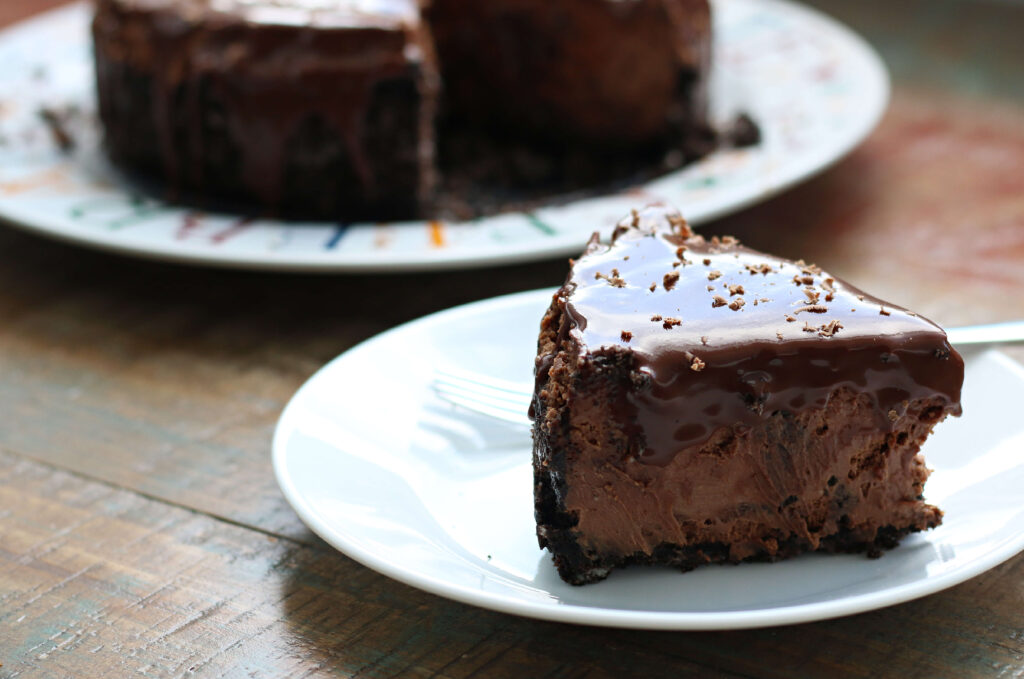
Instant Pot Chocolate Lovers Cheesecake–chocolate lovers rejoice! This cheesecake has an Oreo crust, chocolate cream cheese filling and a chocolate ganache on top. The cheesecake is dreamy and creamy and has no cracks thanks to the Instant Pot!
Instant Pot Chocolate Lovers Cheesecake
This dessert is off the charts delicious! The filling is luscious and creamy and addicting. Even if you’re not a huge cheesecake fan you’ll love this chocolate cheesecake. This is perfect for serving to company on a special occasion. It’s best to make the night before so it can chill and set in the refrigerator overnight. As long as you follow the instructions your cheesecake will turn out perfectly!
Ingredients you’ll need
- Double Stuffed Oreo Cookies
- Cream cheese
- Sour cream
- White sugar
- Cocoa powder
- Eggs
- Semi sweet chocolate chips
- Vanilla extract
- Chocolate extract–I never can find this in stores so I order online*. Add it to brownies, chocolate cake or chocolate cookies. It just brings the chocolate to a whole new level.
- Kosher salt
- Heavy cream
Equipment needed
- 6 or 8 quart Instant Pot*–big enough so your springform pan will fit inside.
- Sling/Trivet*–to drop the cheesecake pan in and to easily retrieve it.
- Parchment paper–optional, I use it to line the bottom of the springform fan
- 6×3 inch springform pan*–the perfect size for pot-in-pot cooking with your Instant Pot.
How to make chocolate cheesecake in the Instant Pot
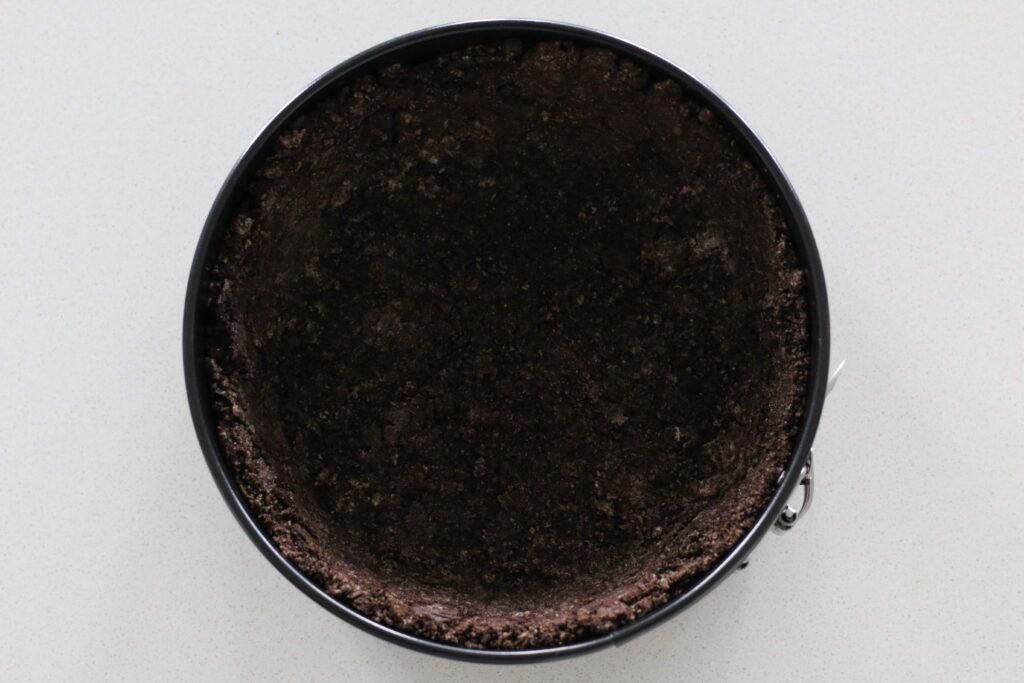
Make a crust: Start by making an Oreo crust. Crush Double Stuffed Oreos into crumbs by pulsing a few times in your blender or food processor. Press the crumbs into the bottom and up the sides of the pan with the bottom of a measuring cup. Pop the pan into the freezer to solidify the crust while you make the cheesecake batter.
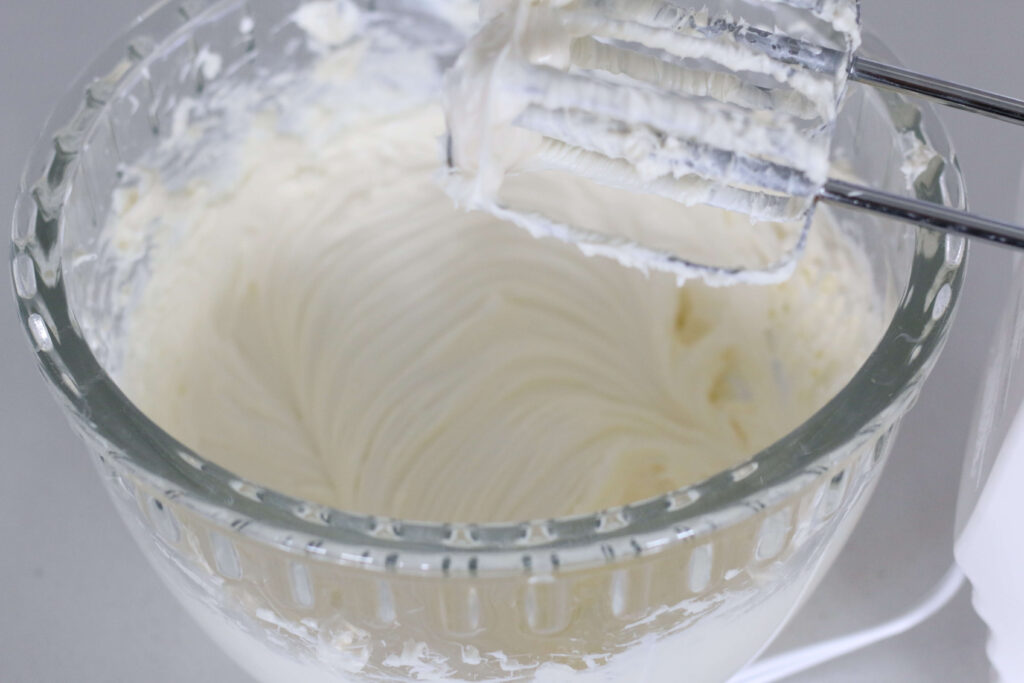
Whip cream cheese: Next you’ll whip up your cream cheese. You can use a hand mixer or a stand mixer for this part. I do prefer a hand mixer because it will give you more control. Mix until your heart is content…you can’t mess up this part. It’s best if the cream cheese is at room temperature.
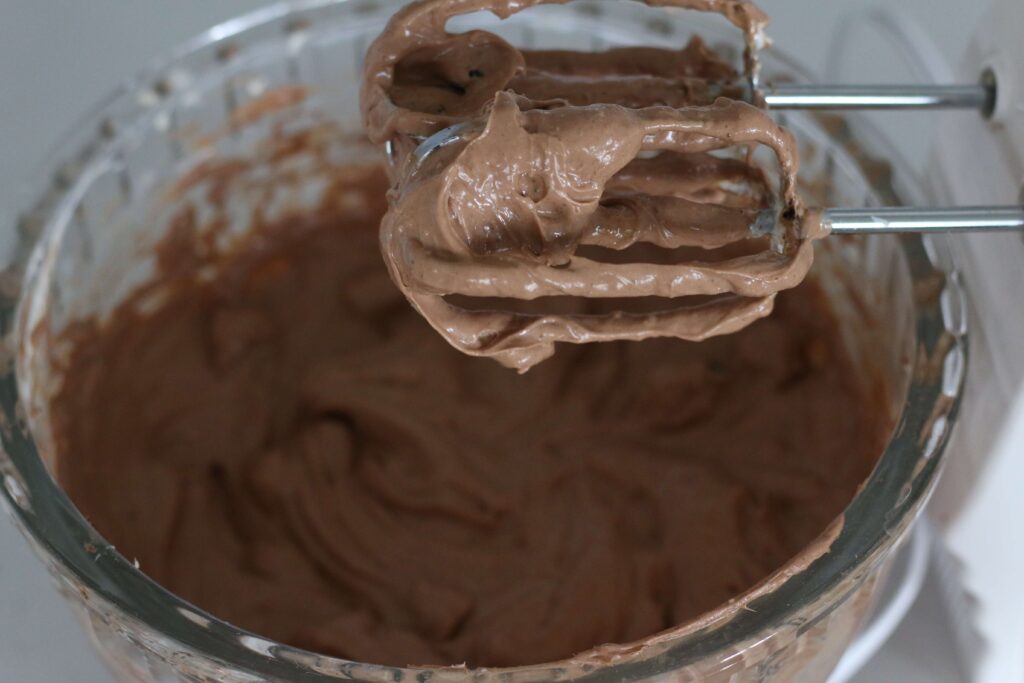
Add in the next ingredients one by one just until combined: Add in sugar and mix, just until combined. Add in sour cream and mix, just until combined. Add in the melted chocolate, cocoa, vanilla and salt and mix, just until combined. Add in the eggs, one at a time, and barely mix. Mix just enough that they are incorporated.
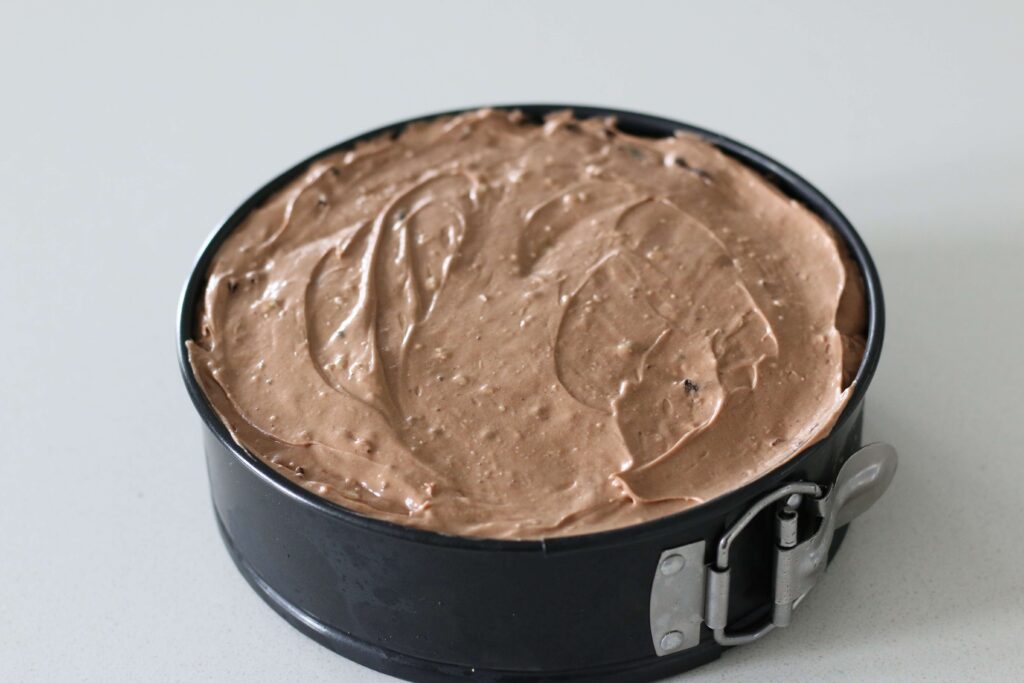
Pour the filling into the frozen crust. Tap the pan on the counter to burst any air bubbles. Loosely cover the pan with foil.
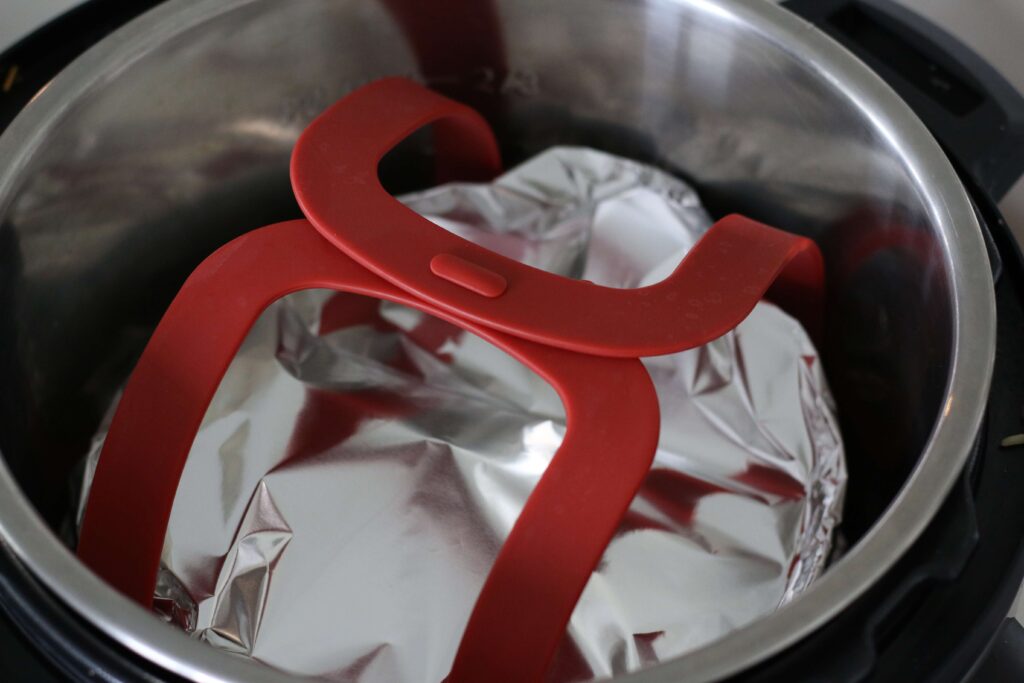
Prepare Instant Pot: Pour 1 ½ cups water into bottom of Instant Pot. Place the pan on the trivet/sling and lower into the Instant Pot.
Pressure cook: Cover Instant Pot and secure the lid. Make sure valve is set to sealing. Set the manual/pressure cooking time to 35 minutes. When time is up let pot sit for 15 minutes and then move valve to venting to remove any pressure.

Cool and chill: Move the pan out of the pot and let cool completely (about 1-2 hours). It will look jiggly. Place the cheesecake in the refrigerator for about 8 hours (overnight).
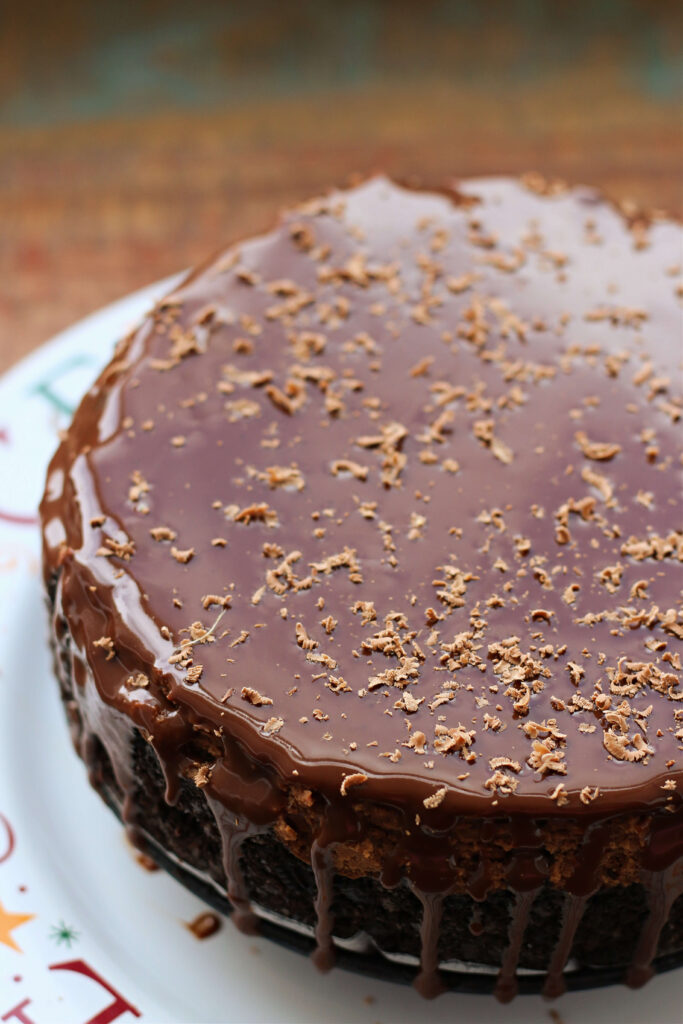
Pour ganache over the top: Make the ganache by heating the cream and chocolate chips in the microwave in 30 second intervals. Stir until chocolate is melted and the mixture is smooth and creamy. Release the sidewall of the pan carefully. Place the cheesecake on top of a rack with a plate underneath. Pour the ganache over the top and the sides of the cheesecake.
Tip: Even if the top of your cheesecake doesn't look smooth and pretty after it comes out of the pressure cooker (mine didn't!) it will look beautiful after you pour the ganache on top.

Slice, serve and enjoy! You can decorate your cheesecake with extra Oreos, fresh raspberries or strawberries. For tips on how to slice cheesecake keep reading.
Best way to slice cheesecake
One trick to cutting cheesecake neatly is using a very sharp knife (not a serrated knife). Keep the knife clean and smooth. To do this, fill a tall glass with hot tap water deep enough to cover the blade of your knife. Dip the knife into the hot water, then wipe it on a clean towel before making every cut. The constant dipping and cleaning will prevent chunks of cake from the previous slice from depositing on top of the next slice.
More Instant Pot Dessert Recipes…
- Instant Pot Chocolate Billionaires
- Instant Pot S’mores Cake
- Instant Pot Earthquake Cake
- Instant Pot Apple Cider Donut Cake
- Instant Pot Key Lime Pie–another way to use your springform pan
- Instant Pot Raspberry Cheesecake Bites
Did you know you can filter the recipes on my website to search by meat type, IP or Crockpot, low carb, gluten free, etc.? Use the filter to find exactly what you are looking for.
Want More Tried And True Instant Pot Recipes?
- Sign up to receive daily Instant Pot recipes (it’s FREE)
- Join the 365 Days of Instant Pot Recipes Facebook group
- Subscribe to my YouTube channel
- Buy the 365 Days of Pressure Cooking Cookbook

Instant Pot Chocolate Lovers Cheesecake
- Prep Time: 30 minutes
- Cook Time: 35 minutes (plus release time)
- Total Time: 1 hour 5 minutes
- Yield: 8 servings 1x
Description
Chocolate lovers rejoice! This cheesecake has an Oreo crust, chocolate cream cheese filling and a chocolate ganache on top. The cheesecake is dreamy and creamy and has no cracks thanks to the Instant Pot!
Ingredients
Equipment needed:
- 6 or 8 quart Instant Pot*
- Sling/Trivet*
- Parchment paper
- 6 inch springform pan*
For the crust and filling:
- 20 Double Stuffed Oreo Cookies
- 2 (8 ounce packages) cream cheese, softened
- 1/2 cup sour cream
- 6 Tbsp white sugar
- 2 Tbsp cocoa powder
- 2 eggs
- 4 ounces semi sweet chocolate chips, melted
- 1 tsp vanilla extract
- 1 tsp chocolate extract* (I can never find this in stores, so I order online)
- Dash of kosher salt
For the ganache:
- 1/2 cup semi sweet chocolate chips
- 1/2 cup heavy cream
Instructions
- Take cream cheese, sour cream and eggs out of the refrigerator so they can reach room temperature.
- Add Oreos into a food processor or a blender. Pulse until they form crumbs.
- Line the bottom of your springform pan with parchment paper. I like to trace the bottom of the pan with a pencil and cut it out.
- Pour the Oreo crumbs into the pan and use the back of a measuring cup to pack the crumbs on the bottom and up the sides of the pan. Place the pan into the freezer while preparing the batter.
- Add softened cream cheese into a mixing bowl. Mix on high until light and fluffy. (I used a hand mixer but you can also use your stand mixer).
- Add in sugar and mix, just until combined.
- Add in sour cream and mix, just until combined.
- Add in the melted chocolate, cocoa, vanilla, chocolate extract and salt and mix, just until combined.
- Add in the eggs, one at a time, and barely mix. Mix just enough that they are incorporated.
- Pour 1 ½ cups water into bottom of Instant Pot.
- Pour the filling into the frozen crust. Loosely cover the pan with foil. Place the pan on the trivet/sling and lower into the Instant Pot.
- Cover Instant Pot and secure the lid. Make sure valve is set to sealing. Set the manual/pressure cooking time to 35 minutes. When time is up let pot sit for 15 minutes and then move valve to venting to remove any pressure.
- Move the pan out of the pot and let cool completely (about 1-2 hours). It will look jiggly. Place the cheesecake in the refrigerator for about 8 hours (overnight).
- Make the ganache by heating the cream and chocolate chips in the microwave in 30 second intervals. Stir until chocolate is melted and the mixture is smooth and creamy.
- Release the sidewall of the pan carefully. Place the cheesecake on top of a rack with a plate underneath. Pour the ganache over the top and the sides of the cheesecake.
- Slice, serve and enjoy!
- Category: Dessert
- Method: Instant Pot
*Karen Petersen is a participant in the Amazon Services LLC Associates Program, an affiliate advertising program designed to provide a means for sites to earn advertising fees by advertising and linking to amazon.com.
I have not made a cheesecake before but I would like to try this one.
I understand all except to put the cheesecake on a rack with a plate underneath.
Is the cheesecake still sitting on the bottom part of the pan?
yes it was…but you can move it off. This proves to be very tricky
Probably a stupid question, but will the lower fat cream cheese work or does it need to be regular cream cheese?
yes it will work!
Useing a Nija Foodie Pressure Cooker. Would I follow the directions exactly. Thank you
Ohhhhhhhhh man, this is a keeper. Made it last night, put the ganache on this morning. I had to try a piece for breakfast. So delicious, I didn’t have chocolate extract, doubled the cocoa powder. Other than that followed the recipe to a T. I will most definitely be making this over and over again. Thank you so much Karen.
Mmm mmm I agree! It is a winner!!
Love this comment! Chocolate Cheesecake for breakfast-yes please 😋
This looks delish but I don’t have an instant pot. Could it be baked in the oven perhaps? If so, would anyone have baking recommendations?
I’m sorry I don’t know the instructions for the oven on this particular recipe.
Thanks for taking the time to reply. I will let you know if I try this and what the results are!!
Happy Birthday Karen! I hope your day is filled with love and many blessings.
Thank you Patti!
Happy Birthday Karen! Hope you enjoyed your day.;)
Looks pretty. Wish I liked chocolate. Lol
You don’t like chocolate? Wow! That is unusual. I’d probably weigh a lot less if I didn’t haha!
I can’t wait to make this. Thank you so much for all the wonderful recipes and answers to everyone’s questions
Enjoy!
Happy Birthday, Karen!!
Delicious!!!
Thank you!
Hi Karen,
First of all…”Happy Birthday” to you, and I hope you had a wonderful day 😊
I have made this delicious cheesecake for a few special occasions and it always turns out heavenly perfect every time (the first time I did not have the “Chocolate” extraxt so subbed in “Coffee” extract instead – no harm done lol
Thank you for all your many wonderful and easy recipes for soups, mains, sides and desserts – your site is my first “go to” for ideas and inspiration 🙂
Thank you so much Donna!
Happy belated Birthday Karen! Thank you for all you do for us.
Thank you Micki!
The extract is listed but I don’t see where it is called for in the recipe. Does it go in the same time as the vanilla?
Chocolate extract, that is
Oh sorry about that. I corrected the recipe. I added it in with the vanilla.
My husband made this for me this week for my birthday – an extra 1/2C of chocolate chips was added to the cream to make the ganache since the 1/2 C of what we had didn’t create a dark enough ganache – perfect blend of flavours, and the cheesecake is nice and creamy!
What a nice husband! I hope you had a wonderful birthday!
This is really good!
Thanks Linda! I agree with you!
I wonder how doable it is non-diary. Maybe heavy cream coconut and diary free cream cheese.
I have no idea to tell you the truth! I have not worked with dairy free cream cheese at all so I can’t give you any indication on how that would work.
I am wondering, too, what to do with the remaining 5 oreos?
If you read through her write-up, she writes, “Slice, serve and enjoy! You can decorate your cheesecake with extra Oreos, fresh raspberries or strawberries. For tips on how to slice cheesecake keep reading.”
Oops I’m sorry that was a mistake. I corrected the recipe to read correctly now.
Ohhh, Karen…..
If only….. I have a sensitivity to chocolate, one of my migraine triggers, but Ohhhhhhhhh…how I want this! I’m a cheesecake fan, and bless it with CHOCOLATE… Well, I’m a goner! I know thousands will make this and each one will S-M-I-L-E the whole rest of the day! : )
I’m sorry it’s a migraine trigger. That must be really hard. I guess no food tastes good knowing that it’s going to cause lots of pain later.
I know, right!? What a dichotomy…..I am practically one with chocolate, but it’s not my friend! Sigh…….
Ok, 20 Oreo’s… 15 into a blender…. OK,, so besides do you put the 15 Oreo’s in WITH the filling, what do you do with the other 5? No picture showing that? Cut them in 1/2 and place them on top???
Oops I’m sorry that was a mistake. I corrected the recipe to read correctly now.
OMG! My favorite, can’t wait to make this! Before I mess it up, food process the cookies and the double stuffed filling together, right? Thanks Karen!
Yes that is correct!
OMGoodness, Karen! I just gained 5 lbs looking at the picture & another 5 lbs reading the ingredients. But I can’t wait to make this. Be back with stars after I wake up from my chocolate induced stupor. Sweeeeet!
Kim, I am still dreaming about it even though it is long gone now